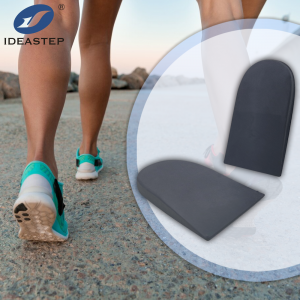
To fix the heel pad in the shoe, it usually needs the help of strong glue. Here are some steps to fix the heel pad:
1. Clean the area: Ensure that the heel pad and the inside of the shoe are free from dirt, debris, or any adhesive residue. Use a cloth or tissue to wipe the surface clean.
2. Apply adhesive: Choose a strong adhesive suitable for bonding shoe materials. Apply a thin, even layer of adhesive to both the heel pad and the inside of the shoe, following the manufacturer’s instructions.
3. Press and hold: Align the heel pad with the inside of the shoe and firmly press them together. Apply consistent pressure to ensure a secure bond. You may also consider using clamps or heavy books to hold them in place while the adhesive dries, if necessary.
4. Let it dry: Allow the adhesive to dry completely as per the instructions provided. This typically takes a few hours, but it’s best to follow the recommended drying time to ensure a strong bond.
5. Test and readjust if needed: Once the adhesive has fully dried, try on the shoes and test the bond. If there are any spots that seem loose or areas that require additional bonding, apply more adhesive and repeat the pressing and drying process.
The above is how to fix the heel pad. The use of heel pads helps improve comfort, If you are interested in heel pads, you can continue to visit this page (https://www.aideastep.com/heel-pads/) and tell us your needs.
