Developing custom inserts for shoes is far more than adding a logo to a standard insole. For footwear brands, wholesale distributors and orthotic product partners, every phase from initial requirement definition through full-scale production directly impacts fit, performance, unit cost and market compliance. Having guided dozens of B2B custom insert projects through engineering, sampling and mass production, we know many buyers underestimate how design decisions ripple through manufacturing. Skipping validation steps or misaligning specs can lead to poor fit inside finished footwear, inconsistent biomechanical performance and costly delays once production starts.
Clarify Business and Technical Goals Before Starting Design
Every successful custom insert project starts by locking in core requirements, before any CAD work begins. First, define the use case. Are these inserts built for everyday comfort, high arch orthotic support, pressure relief for sensitive feet, or engineered to fit inside a specific shoe last? The intended application sets every subsequent design choice, including allowable thickness, weight limits and required durability.
You also need to align on commercial targets. Is this for private label retail, bundled with finished footwear, or sold through podiatry and clinic networks? Outline your target MOQ, launch timeline and budget boundaries early. Equally important is planning for compliance: confirm material certification requirements such as REACH, and set clear rules for product claims before anything goes to market. Many B2B projects hit avoidable roadblocks because compliance and marketing boundaries were not addressed at the outset.
Translating Requirements Into Product and Structural Design
Once requirements are finalized, the team moves into design work. Foot data can come from 2D pattern tracing or 3D foot scanning, depending on project complexity. The design team builds geometry around functional priorities: arch support, heel cup containment and metatarsal relief zones, while respecting the available volume inside the shoe cavity. An insert that delivers strong biomechanical support on paper is useless if it crowds the shoe and creates pressure points during wear.
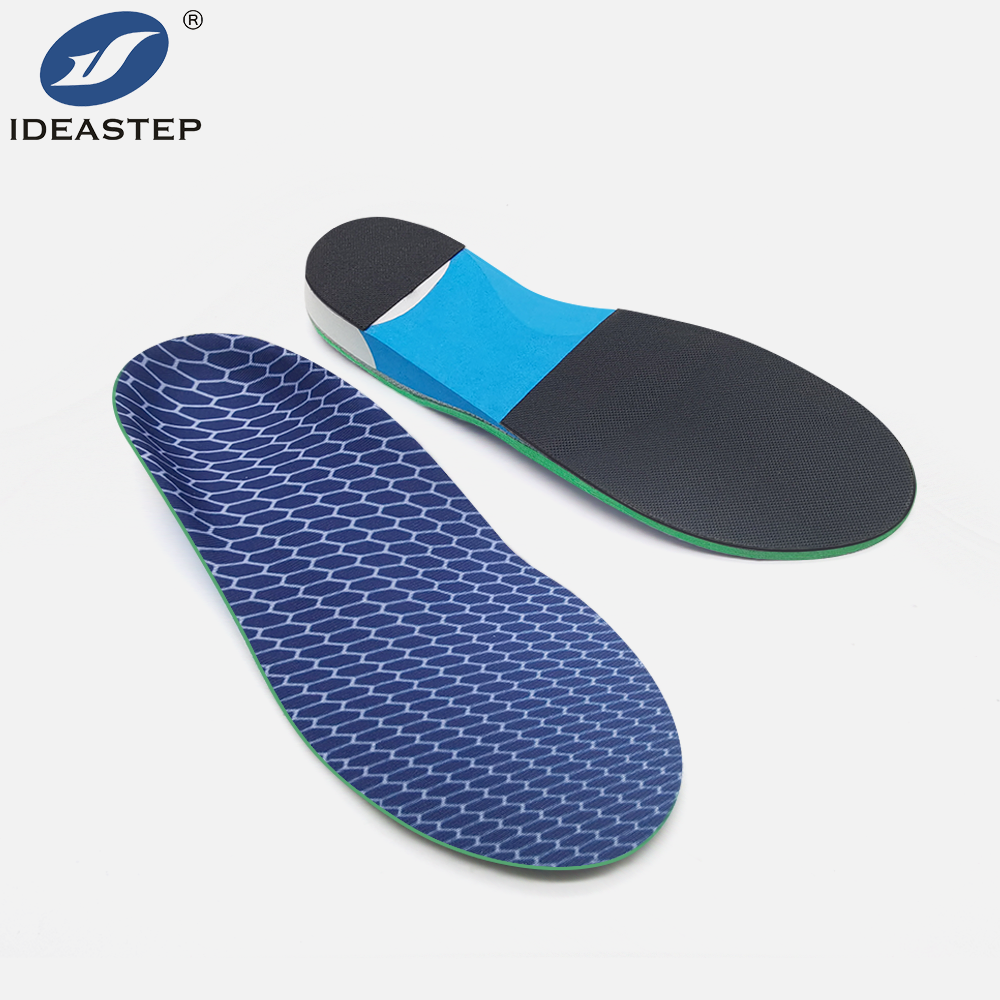
Material selection is a critical engineering decision. EVA, PU and PORON each carry distinct tradeoffs in density, compression set, weight and durability. The top cover fabric is not just cosmetic; its friction properties, breathability and hypoallergenic performance directly affect end-user comfort. Designers also need to handle size grading carefully. Simply scaling a single master pattern up and down changes support characteristics. Proper size engineering ensures consistent performance across the full size range.
The output at this stage includes CAD files, 3D models and a formal technical specification sheet. This document, paired with the signed reference sample, becomes the single source of truth for sampling and later bulk production.
Prototype Sampling and Performance Validation: Your Main Risk Control Step
Prototyping turns digital designs into physical samples for real-world testing. Initial hand-built prototypes help validate fit, thickness and assembly compatibility, catching obvious geometry issues before committing to tooling. Once the basic shape works, functional lab testing begins. Pressure mapping, compression set, wear ageing and material safety checks confirm whether the insert meets performance targets, not just visual expectations.
Most projects require multiple revision rounds. It is important to separate design tweaks, material swaps and cosmetic changes, because each category carries different impacts on cost and lead time. Once the engineering and commercial teams sign off, the golden sample is sealed and stored, with agreed tolerances for hardness, thickness and dimensions. This step protects buyers from one of the most common sourcing traps: premium materials used only for samples, then replaced with cheaper alternatives once mass production begins.
Process Planning and Supply Chain Preparation for Production
After sample approval, the factory team selects the right manufacturing workflow. Compression moulding, CNC milling and 3D printing each serve different order sizes and precision needs. Moulding works best for large-volume runs, while CNC milling suits medium batches and inserts needing fine biomechanical detail. 3D printing is reserved mostly for low-volume custom cases and prototyping, rarely for cost-effective mass production.
Raw material planning follows next. Base foams, top fabrics and adhesive layers all have their own lead times, and batch-to-batch foam stability must be monitored. Tooling creation and maintenance schedules are defined, with clear cost and lifespan expectations for moulds. The factory builds standard operating procedures for cutting, lamination, edge finishing, inspection and packaging.
A pilot production run is strongly recommended before full release. Small-batch trial production reveals issues that only appear during continuous manufacturing, such as bonding failures, dimensional drift or inconsistent foam density. Skipping pilot testing is one of the most expensive shortcuts a B2B buyer can take.
Bulk Manufacturing: Quality Control and Order Delivery
When full production launches, quality oversight starts before manufacturing itself. Incoming raw material inspections verify foam hardness and density for every incoming batch, preventing raw material variation from ruining finished insert performance. During production, line inspectors check dimensions, bonding integrity and appearance at regular intervals. For orthotic or medical-adjacent inserts, random sampling for biomechanical performance testing is added to the workflow.
Batch traceability is non-negotiable for most B2B customers. Material lots, production work orders and test records are archived so every finished unit can be traced back to its source materials. Custom branding and packaging are integrated according to your specs, whether you need printed logos, individual polybags or retail-ready boxes. Final inspection takes place before shipment to reduce damage and non-conforming units arriving at your warehouse.
Common Project Risks and Practical Mitigation
Many custom insert projects run over budget or miss deadlines due to predictable issues. Overly complex geometry can raise reject rates and push up unit pricing. Open-ended revision cycles, where design changes keep arriving after sampling starts, create repeated sampling fees and timeline creep.
Once in production, foam batch variation and mould wear can shift dimensions and support performance across runs. On the commercial side, changing requirements after golden sample approval almost always creates cost disputes. The best way to manage these risks is to lock specs in writing, limit revisions after pilot run, and define acceptance criteria before production begins.
Project Priorities for Different B2B Buyer Types
Footwear brands prioritise shoe cavity fit above everything else. Their inserts must integrate seamlessly with their shoe last while balancing cost and lead time. Wholesale distributors serving clinics and foot-care providers focus heavily on verified test documentation. They often prefer modular customisation that lets them test the market without huge MOQ commitments.
Customers working in medical or orthotic channels place traceability and complete technical documentation at the top of their checklist. They need organised records for compliance filing and audit readiness. Recognising these different priorities helps align expectations and avoid wasted engineering effort.
FAQ
What MOQ should I expect for custom shoe inserts?
MOQ varies heavily by manufacturing method. Simple printed custom inserts have lower minimums, while projects requiring new moulds demand larger batch sizes. Your supplier can share realistic MOQ after reviewing your design and material requirements.
How do I choose between CNC milling and compression moulding?
Compression moulding delivers lower per-unit cost for large orders. CNC milling offers more flexibility for complex shapes and medium volumes, though unit pricing will be higher. 3D printing works best for prototyping and low-volume custom pieces.
What is the typical timeline from design to first samples?
Simple custom inserts can deliver initial samples in a couple of weeks. Complex multi-layer orthotic inserts with testing requirements may take four to six weeks before samples are ready for evaluation.
Can custom shoe inserts be tested for biomechanical performance?
Yes. Qualified manufacturers can run pressure mapping, compression set and ageing tests and provide formal reports. This documentation is especially valuable for clinic and medical-focused product lines.
Start Your Custom Shoe Insert Development Project
Custom insert development ties engineering, material science and manufacturing together. Every choice you make in the design phase will influence cost, quality and delivery once orders scale. If you would like to walk through your shoe cavity constraints, material preferences, order targets and market compliance needs, our engineering team can assess feasibility and outline a tailored development roadmap. Feel free to contact us to discuss your project.
Related Reading: Ideastep Custom comfy shoe inserts factory for shoes maker.