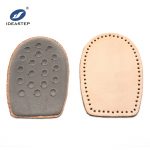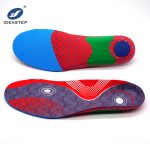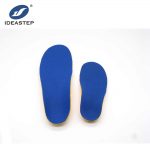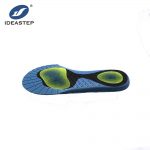
Heat moldable orthotics provide customized support and comfort by adapting to the unique contours of your feet. Unlike standard insoles, these inserts allow users to achieve a more personalized fit through a controlled heating and molding process. With the correct technique, you can shape the orthotics to match your foot structure and improve the fit inside your shoes.
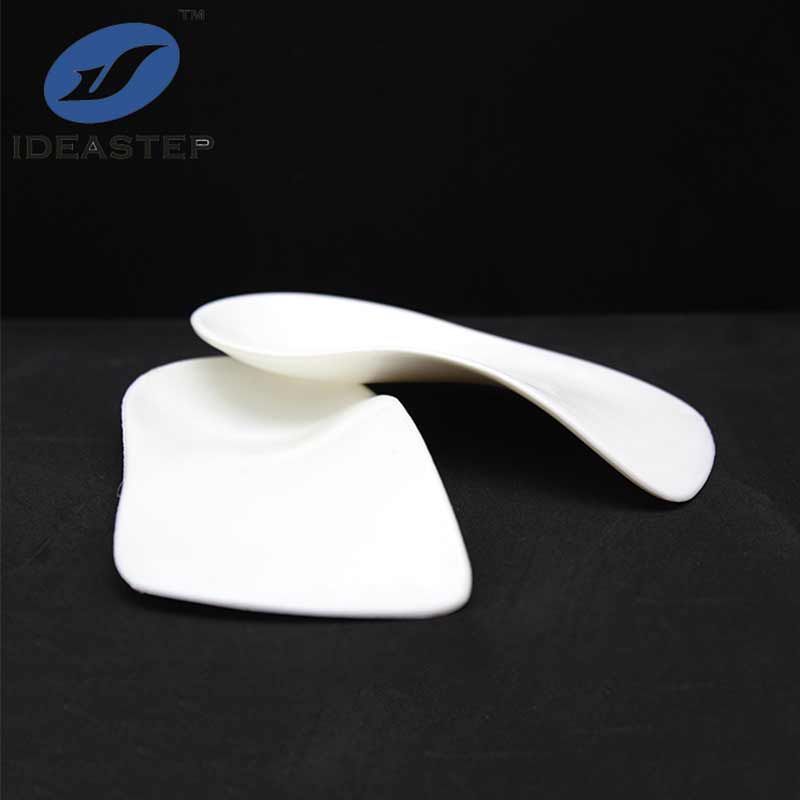
Step 1: Prepare the Orthotics
- First, remove the orthotics from their packaging and check for any visible defects, damage, or irregularities.
- If the orthotics require trimming, use scissors or a utility knife to carefully follow the outline of your shoe’s original insole. This step helps achieve a proper fit inside the footwear.
Step 2: Heat the Orthotics
- Before heating, preheat your oven to the temperature specified by the manufacturer. Typical temperatures range from 150–200°F (65–95°C), although the recommended setting depends on the material and product specifications.
- Next, place the orthotics on a baking sheet and heat them for the recommended duration, usually 2–3 minutes, if the manufacturer’s instructions permit this method.
- Monitor the heating process closely to prevent overheating, deformation, or material damage. Always follow the product-specific instructions.
Step 3: Mold the Orthotics
- Once the orthotics reach the recommended temperature, carefully remove them from the oven with oven mitts or tongs. Then, place them on a heat-resistant surface.
- Follow the manufacturer’s molding instructions. If the product supports direct foot molding, stand on the warm orthotics with bare feet, keeping your heels firmly positioned and your toes pointing forward.
- Distribute your weight evenly across both feet, paying particular attention to the arch and heel areas. Maintain a stable position throughout the molding process.
- Remain in position for the recommended period while the material cools and retains the contours of your feet. Avoid walking on the orthotics until they have cooled sufficiently.
Step 4: Fit the Orthotics into Your Shoes
- After the orthotics have cooled completely, place them inside your shoes and check that they sit flat and fit securely without shifting.
- If the edges extend beyond the shoe’s insole area, carefully trim the excess material when the product instructions allow it. Check the fit again before wearing the shoes.
Step 5: Wear and Maintain the Orthotics
- Start by wearing your shoes with the molded orthotics for a comfortable period. Pay attention to the fit, arch contact, and overall support as you move.
- As you continue using the orthotics, monitor their shape and performance. Some heat moldable models allow further adjustments, but always check the manufacturer’s instructions before repeating the heating and molding process.
- For routine maintenance, follow the recommended cleaning method. Depending on the materials, you may clean the orthotics with a damp cloth. Avoid machine washing unless the manufacturer specifically approves it.
Following these steps helps you achieve a more personalized fit with heat moldable orthotics. For the best results, always follow the manufacturer’s heating, molding, fitting, and care instructions to protect the material and maintain product performance.
Products Recommended
PP Shell Heat moldable Arch Support