Developing a custom orthotic insole for OEM production involves more than changing the color or adding a logo to an existing product. The insole needs to meet the intended application, fit the target footwear, provide the required level of support, and remain consistent when produced in volume.
This case study outlines the main stages of a custom orthotic insole project, from reviewing the initial requirements to refining the sample and preparing the design for production.
1. Reviewing the OEM Requirements
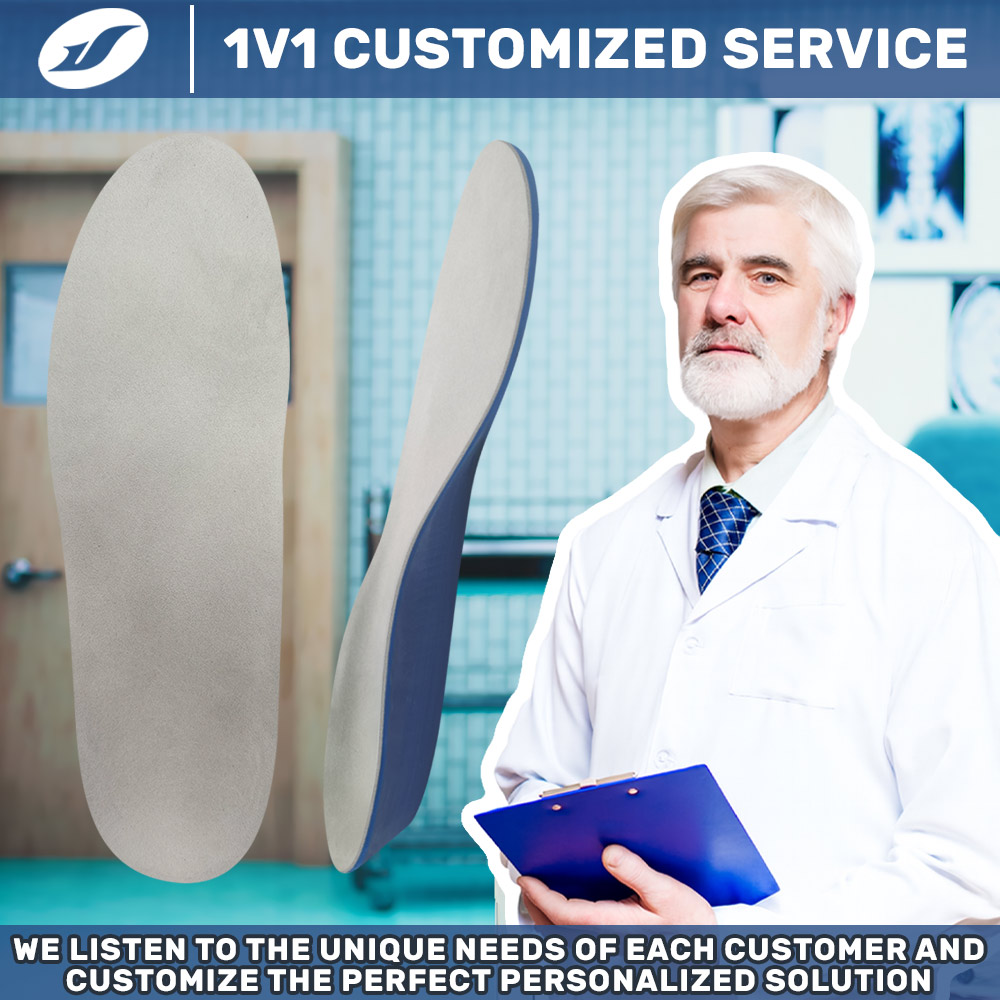
The first step is to define what the insole needs to do and where it will be used. A basic product brief normally covers the target footwear, user group, support requirements, materials, dimensions, and expected production volume.
For an orthotic insole, the following details are particularly relevant:
- Footwear type and available internal space
- Target arch profile and support level
- Heel cup depth and shape
- Forefoot flexibility and cushioning
- Overall thickness and weight
- Material and surface requirements
- Branding and packaging specifications
Footwear should be considered at this stage rather than after the sample has been made. An insole with sufficient support may still be unsuitable if its thickness or geometry reduces the usable space inside the shoe.
2. Converting the Requirements Into an Insole Structure
Once the requirements are clear, the next task is to determine the construction of the insole.
The arch, heel, forefoot, and base cannot always be designed independently. Their geometry and material properties work together to determine the overall feel and support characteristics of the product.
The arch area is adjusted according to the intended support profile and foot shape. The height and contour need to be considered together with the flexibility of the supporting layer.
The heel section may use a shaped heel cup to provide a more defined platform for the heel. Its depth and width also need to match the footwear.
The forefoot section generally requires a different balance between cushioning and flexibility. Excessive rigidity can affect walking comfort, while insufficient structure may not meet the original design requirement.
Overall thickness is another practical constraint. Adding more material does not necessarily improve the product. In a low-volume shoe, even a small increase in thickness can affect fit.
3. Selecting the Material Combination
Material selection should follow the structure rather than the other way around. Different materials serve different purposes, and the final construction often depends on how these layers work together.
EVA, for example, can be used for cushioning and shaping. TPU can provide a more structured support component, while PU, PORON, memory foam, or gel can be used in areas where additional cushioning is required. The top cover also affects the surface feel and the way the foot interacts with the insole.
Material hardness is another consideration. A softer material can improve cushioning but may change the stability of the structure. A harder material can provide greater structural control but may not be appropriate across the entire footbed.
For this reason, material selection is normally based on the complete construction rather than on the properties of a single material.
4. Producing the Initial Sample
With the basic construction defined, an initial prototype can be produced for evaluation.
The first sample is checked against the agreed design, including:
- Length, width, and overall dimensions
- Arch position and contour
- Heel cup geometry
- Forefoot thickness and flexibility
- Layer construction and bonding
- Top-cover finish
- Fit inside the target footwear
At this point, physical fit is particularly useful. A design may look correct in a drawing or specification sheet but behave differently once assembled and placed inside an actual shoe.
5. Refining the Prototype
Sample evaluation often leads to several rounds of adjustment. The changes depend on what is found during fitting and inspection.
Common adjustments include modifying the arch contour, changing the heel cup dimensions, reducing the total thickness, changing the hardness of a support component, or repositioning cushioning elements.
It is also important to identify the cause of a problem rather than changing several parameters at once. For example, if an arch feels too prominent, the issue may relate to its height, width, position, or the hardness of the underlying material.
A more controlled adjustment process makes it easier to understand how each design change affects the next sample.
6. Checking the Product Before Bulk Production
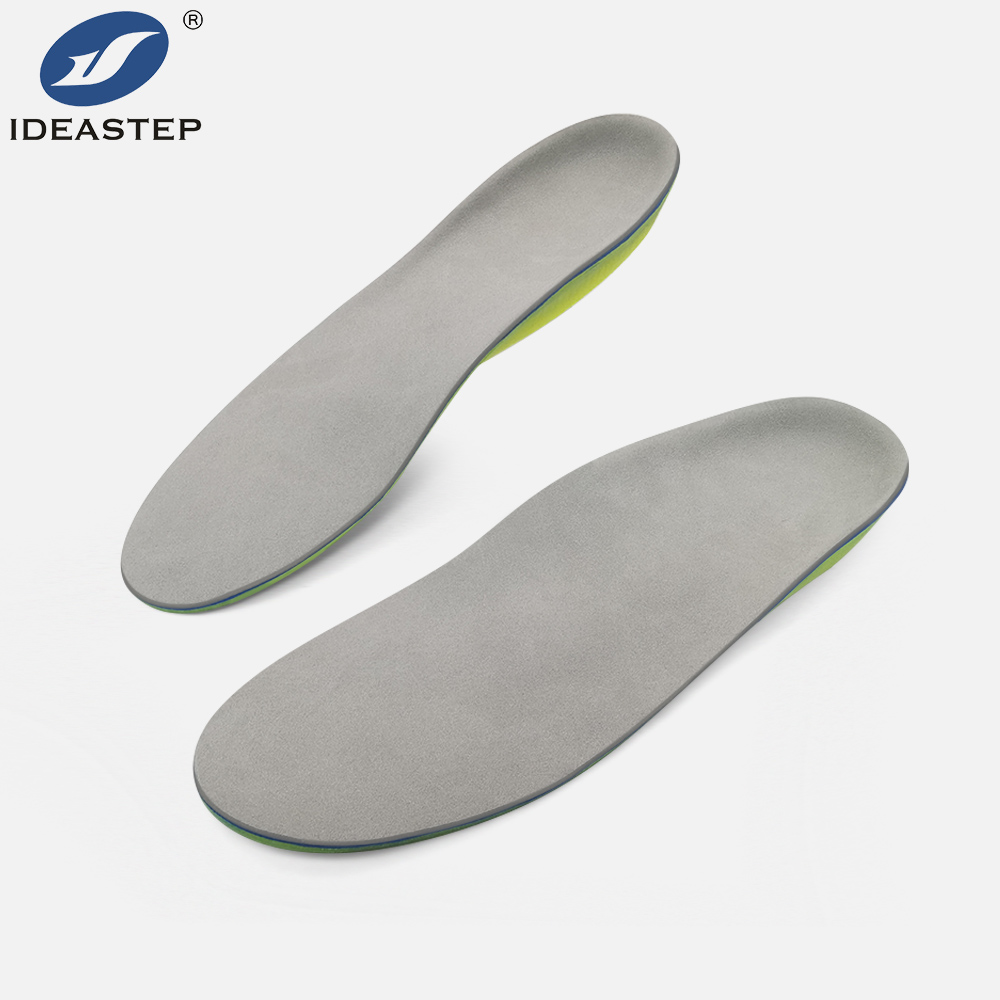
After the sample reaches the required specification, the product should be reviewed before moving to volume production.
Depending on the construction and intended use, this may include:
- Dimensional inspection
- Material and hardness verification
- Bonding and assembly inspection
- Flexing or durability evaluation
- Fit checks with the target footwear
- Appearance and branding inspection
The purpose is to confirm that the approved sample can be translated into a repeatable production specification. For OEM products, consistency between batches is part of the product requirement itself.
7. Converting the Approved Sample Into a Production Specification
Once the design is approved, the product details need to be documented clearly for manufacturing.
The specification may include the approved materials, dimensions, hardness, layer construction, logo position, colors, packaging, and other production requirements.
This information provides a reference for subsequent orders and reduces the need to redefine the product each time a new production batch is placed.
For a private-label orthotic insole, this stage also establishes the basis for future modifications. Changes can then be made against an existing specification instead of restarting the development process from the beginning.
What We Learned From the OEM Development Process
One of the main considerations in custom orthotic insole development is that individual design elements cannot always be evaluated separately.
Changing the arch geometry can affect the overall feel of the insole. Changing material hardness can alter both cushioning and structural behavior. Increasing thickness may solve one design requirement while creating a fitting problem inside the shoe.
This is why prototype evaluation is useful. It provides a physical reference for making controlled changes rather than relying entirely on specifications or theoretical assumptions.
From Sample Approval to Repeat Production
Once the design, materials, construction, and production requirements have been confirmed, the approved sample becomes the reference for future manufacturing.
For OEM buyers, keeping these specifications consistent is particularly important when the product is produced repeatedly or supplied under a private label.
Ideastep works with buyers on custom orthotic insole development, including structural adjustments, material combinations, OEM/ODM manufacturing, branding, and packaging. The development process can be based on an existing sample, drawing, specification, or a new product concept.
Conclusion
A custom orthotic insole is the result of several connected decisions: the intended application, footwear dimensions, support structure, material combination, and manufacturing process.
For an OEM project, the development process should therefore move in a controlled sequence—from requirements and structural design to sampling, evaluation, adjustment, and production specification.
This approach gives both the buyer and manufacturer a clearer reference for evaluating the product and making further changes when necessary.
Related Post: Ideastep Custom Orthotic Insoles OEM Partner for Global Brands.