
Introduction
The quality of an orthotic insole depends not only on material selection and manufacturing processes but also on mold design. Details such as cavity depth, arch contours, heel cup geometry, and material allowances all influence the finished product.
For manufacturers, orthotic mold development means translating product requirements into tooling that supports accurate shaping and consistent production. This article covers the key design decisions that B2B buyers and manufacturers should review before investing in tooling.
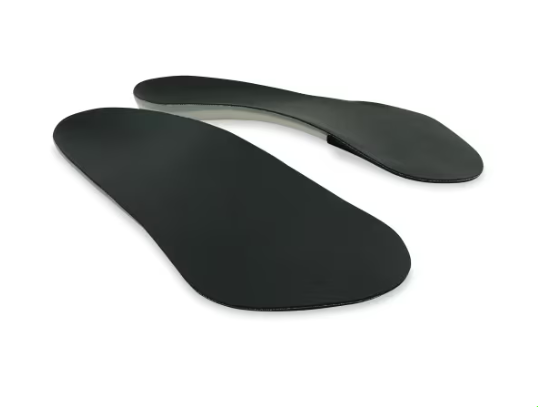
1. Define Product Requirements Before Mold Development
Mold development should start with the finished insole’s specifications, not just its overall outline. A product drawing needs to provide enough information for the tooling team to understand its structure and dimensions.
Key design details typically include:
- Overall length and width
- Arch height and profile
- Heel cup depth and wall angle
- Forefoot thickness and contour
- Edge shape and transition areas
- Position of reinforcement components
Not all dimensions have the same importance. For example, changing the arch height may affect surrounding contours and material distribution. Manufacturers should therefore identify critical dimensions before preparing the mold.
It is also useful to separate structural features from cosmetic details. Arch contours, heel cup walls, and support shell positions may require direct mold control, while logos and surface patterns can often be handled through secondary processing.
2. Five Mold Design Factors That Affect Insole Quality
Mold geometry influences the shape, material distribution, and dimensional consistency of the finished component. Five factors deserve particular attention.
Cavity Depth and Thickness Distribution
Orthotic insoles often require different thicknesses across the heel, arch, and forefoot. A uniform cavity depth may not match the intended design.
During development, manufacturers should confirm thickness at key points, transitions between sections, and the material’s forming characteristics. The cavity profile should match the approved product drawing and the selected material.
Structural Transitions and Edge Geometry
Different insole sections may have varying heights, thicknesses, or rigidity. Poorly planned transitions can create difficulties during forming, trimming, or assembly.
The mold drawing should clearly define arch-to-forefoot transitions, heel cup walls, reinforcement edges, and perimeter trimming allowances. These details should be considered before production rather than left entirely to on-site adjustments.
Draft Angles and Demolding Direction
The mold must allow components to be released without unnecessary deformation or surface damage.
Deep heel cups and pronounced arch profiles may require additional attention to draft angles, parting lines, and potential undercuts. The appropriate release design depends on the material and molding process, so it should be confirmed during tooling review and sample trials.
Mold Compensation and Material Behavior
The final component dimensions may differ from the mold cavity because of material shrinkage, compression, temperature, and processing conditions.
Manufacturers should evaluate the actual material before finalizing tooling. Where necessary, sample measurements can help determine suitable dimensional compensation instead of relying on a fixed allowance for every project.
Surface Finish and Secondary Processing
Textures, grooves, logos, and identification marks can be integrated into the mold or added through printing, cutting, and other finishing processes.
Deciding where each feature belongs helps control tooling complexity and makes future product modifications easier.
3. Match Mold Design with Material Properties
Different materials have different forming characteristics and dimensional behavior. Therefore, material selection should be considered during mold development.
| Material | Key Design Considerations |
|---|---|
| EVA and PU | Density, hardness, compression, thickness, and dimensional changes |
| TPU and PP | Shell curvature, component thickness, edge geometry, and forming conditions |
| Microfiber and Polyester | Top-cover thickness, cutting dimensions, and finished surface profile |
For example, a multi-density EVA insole may require different material sections or a layered construction. Likewise, a TPU or PP support shell assembled with an EVA base needs coordinated dimensions and positioning.
Top-cover materials should also be included in the original specifications. Otherwise, the assembled insole may exceed its target thickness or develop uneven edges.
4. Consider the Complete Insole Assembly
A molded component may meet its individual dimensions while the finished insole still differs from the approved design. This often happens when development focuses on separate parts instead of the complete assembly.
Consider an insole made with an EVA base, a TPU support shell, a cushioning layer, and a textile top cover.
| Component | Main Design Checks |
|---|---|
| EVA Base | Thickness, contour, and shell position |
| TPU or PP Shell | Curvature, edge profile, and dimensions |
| Cushioning Layer | Thickness and placement |
| Top Cover | Material thickness and cutting dimensions |
Manufacturers should review component positioning, bonding areas, and overall thickness before finalizing the mold. This helps identify design conflicts early and reduces adjustments during production.
5. Plan for Different Sizes and Product Variations
A mold designed for one size cannot always be scaled by changing its overall length. Arch position, heel cup proportions, and forefoot dimensions may need separate adjustments.
A size grading plan should cover:
- Length and width
- Arch position and height
- Heel cup dimensions
- Forefoot proportions
- Support component placement
For wholesale product lines, manufacturers may also use a standard mold platform with selected variations, such as different arch profiles, top-cover materials, or support shell configurations.
This approach can simplify product range management. However, substantially different structures may require dedicated tooling.
6. Validate Samples Before Bulk Production
Sample validation allows manufacturers and buyers to compare the actual product with the approved specifications before moving into bulk production.
A practical process includes four steps:
1. Design review
Check CAD drawings, reference samples, material specifications, and critical dimensions.
2. First sample inspection
Review overall dimensions, arch height, heel cup depth, forefoot thickness, and surface condition.
3. Assembly verification
For multi-component products, check shell positioning, bonding, layer thickness, and edge finishing.
4. Final specification approval
Record approved dimensions, material grades, component positions, and sample details. These records provide a reference for repeat orders and future production batches.
7. Reduce Tooling Revisions Through Better Planning
Unnecessary mold revisions can increase development time and project costs. In many cases, better preparation can prevent avoidable changes.
Before tooling begins, buyers and manufacturers should:
- Provide complete drawings, reference samples, and material specifications.
- Confirm material grades and construction methods.
- Identify critical dimensions and structural features.
- Review the complete insole assembly.
- Agree on measurable sample approval criteria.
These steps establish a shared technical reference and help both parties assess production feasibility before committing to bulk orders.
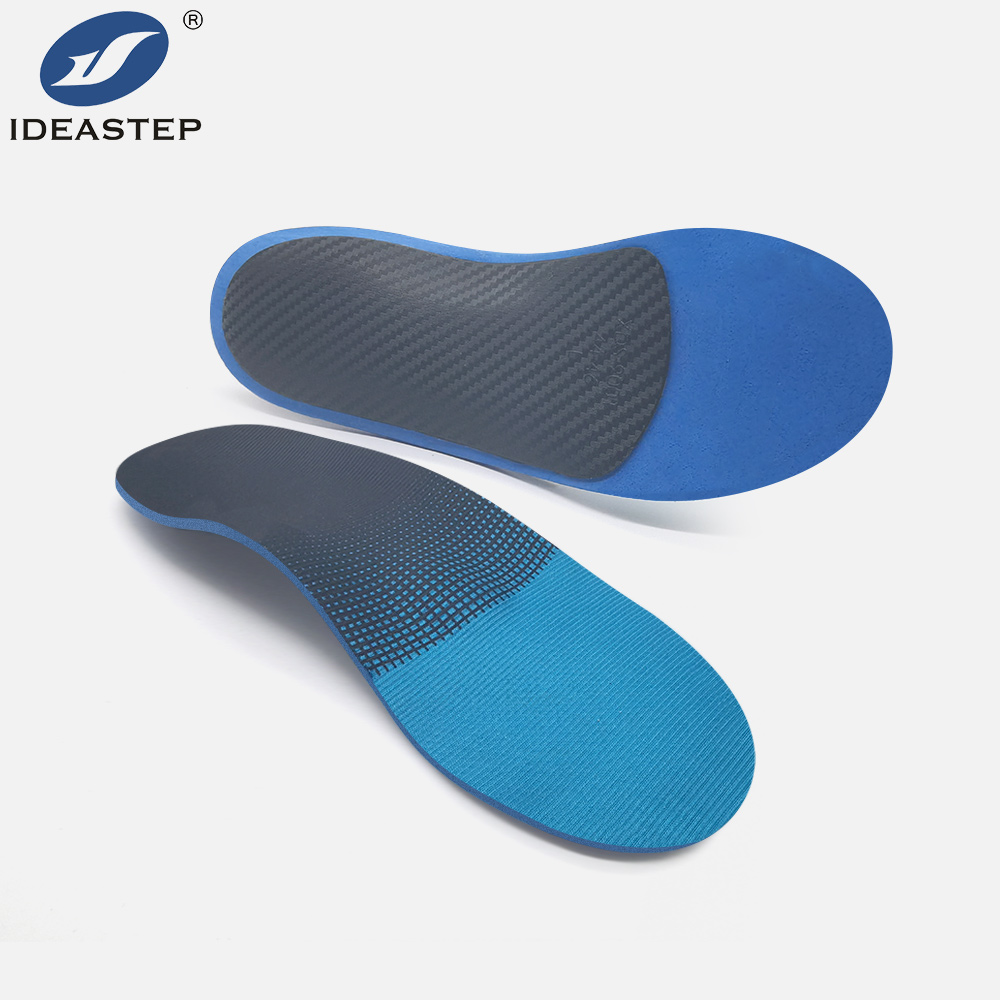
8. Orthotic Mold Development with Ideastep
Ideastep supports B2B customers with orthotic mold development and customized manufacturing projects. Our team works with product distributors, orthotic brands, and manufacturers to evaluate mold requirements, material compatibility, structural details, and production feasibility.
Whether you are developing a new mold or modifying an existing design, we can review your CAD drawings, reference samples, and technical specifications to discuss suitable development options.
Our capabilities include CNC machining, 3D printing, material selection, prototype evaluation, and customized production support.
Planning a new orthotic mold development project? Contact Ideastep to discuss your tooling requirements, share your design specifications, and explore a suitable development solution for your project.
Conclusion
Successful orthotic mold development depends on careful planning at every stage. Cavity geometry, material characteristics, structural transitions, and dimensional requirements all influence the final tooling result.
For B2B buyers and manufacturers, addressing these factors before production tooling begins can help reduce unnecessary revisions and improve manufacturing consistency.
Choosing a manufacturing partner with experience in mold development and custom production can also make the development process more efficient, from initial design review to prototype validation and production preparation.
Related Reading: Ortho Flex Mold Technology and Its Role in Orthotic Insole Design.

